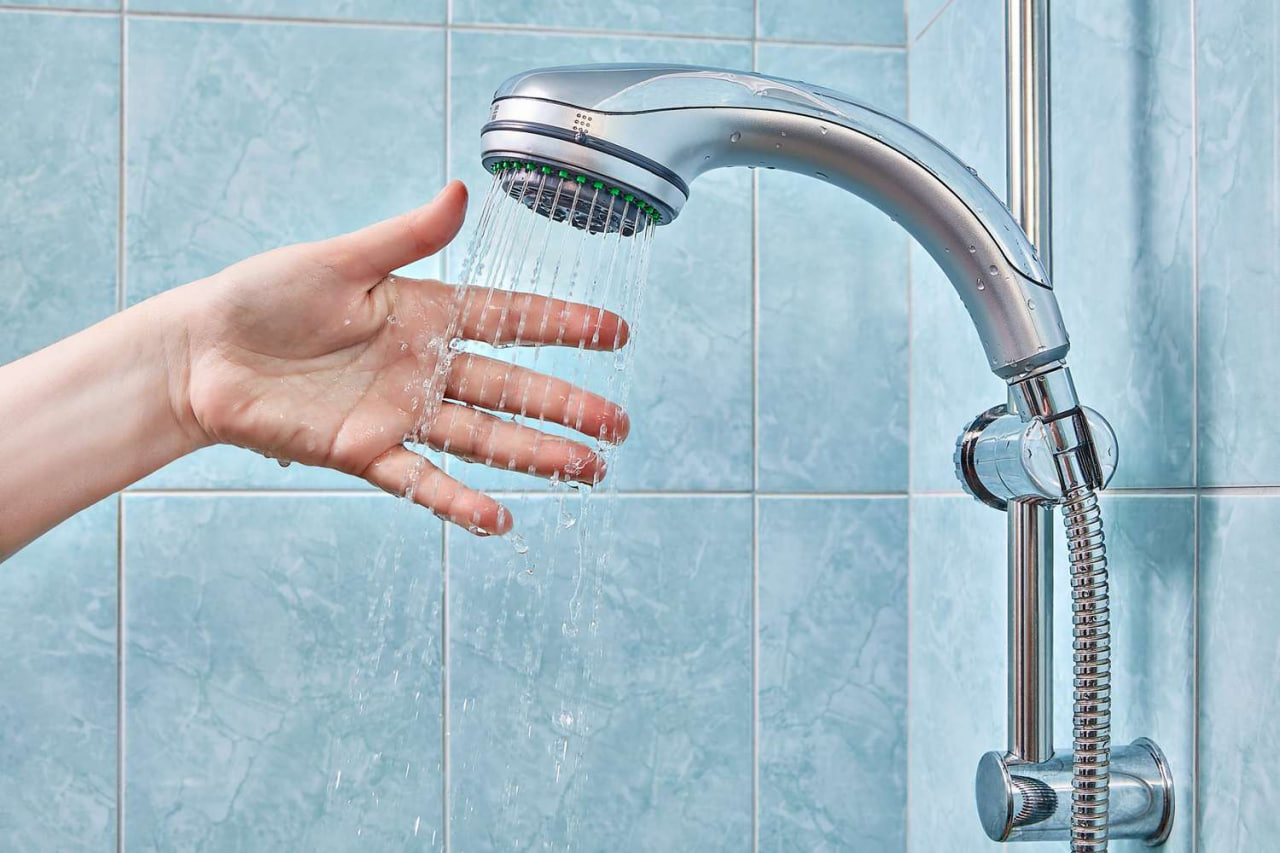
Removing a stuck showerhead is a tricky task. It can be caused by calcification, rust, or mineral buildup, making it difficult to unscrew from the shower pipe. Fortunately, there is an easy fix – you don’t need to call a plumber! How to remove stuck showerhead?
With the right guide and steps of action, stuck showerheads are manageable. To successfully remove a stuck showerhead, you need the proper tools and some elbow grease. You can start by lubricating the stuck showerhead connects the head with WD-40 and then carefully grip it with pipe wrenches or basin wrenches.
After that, you want to inspect inside joint pipes and rubber seals so they don’t get stuck again. Once all these steps are completed you should have no problem replacing your old stuck shower head with a new one!
How To Remove A Stuck Showerhead?
Removing an outdated, malfunctioning showerhead can be a relatively straightforward process. Gather up some basic supplies such as pliers or adjustable wrenches and some reliable plumber’s tape (Teflon will do the trick!), then follow these simple steps to get your brand-new fixture in place! Don’t forget you’ll need to pick out a shiny new one from the store first – with so many options available there’s sure to be something perfect for any bathroom setup!
Step 1: Inspect Your Showerhead
Removing an outdated, malfunctioning showerhead can be a relatively straightforward process. Gather up some basic supplies such as pliers or adjustable wrenches and some reliable plumber’s tape (Teflon will do the trick!), then follow these simple steps to get your brand-new fixture in place! Don’t forget you’ll need to pick out a shiny new one from the store first – with so many options available there’s sure to be something perfect for any bathroom setup!
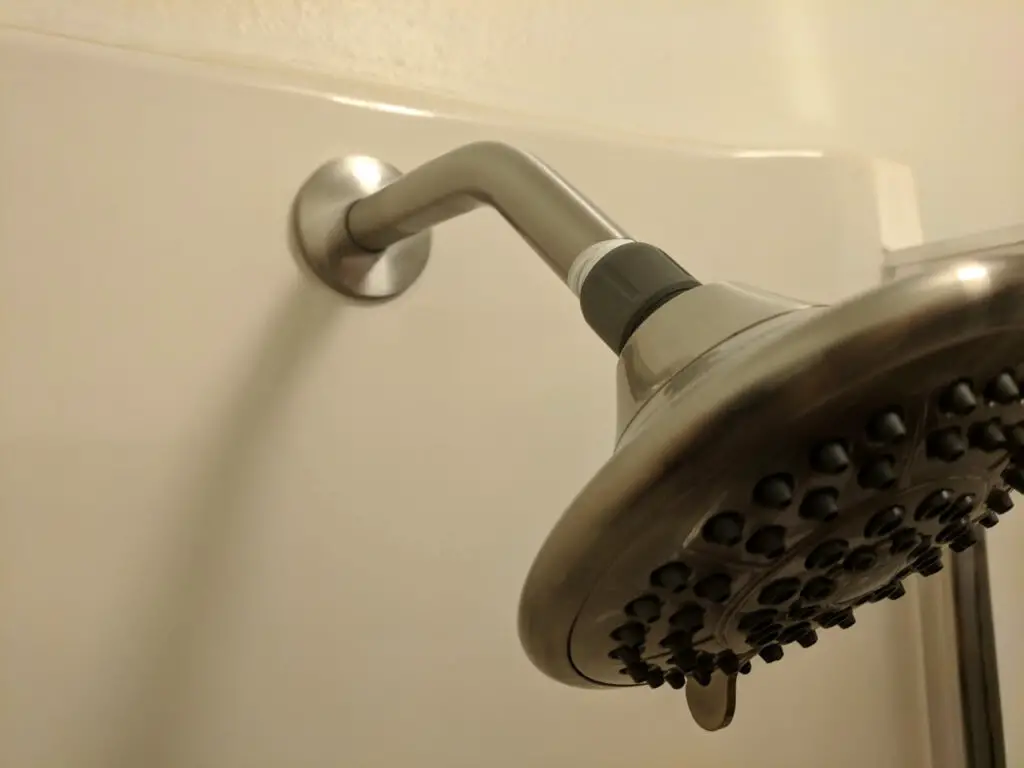
While showering, take a peek at the connection between your arm and head. If you see an eerie whitish ring covering it, don’t worry–it’s just calcium mineral build up make-up that happens over time. But if there is an orange or copper hue to it – beware! That could be rust causing trouble in paradise.
Even if there’s no visible sign of rust or mineral deposits on new shower head, it doesn’t mean your showerhead is secure. The buildup could be hiding just below the surface – so make sure to double check!
Step 2: Switch Off The WATer Valve
If you’re tackling the task of removing a jammed shower head, it’s best to take caution and shut off the water supply. For those who aren’t experts in plumbing, this is an important step that could save lots of headaches!
Shield yourself from the devastation of a broken shower arm by ensuring your water supply is off. Plus, no more unwanted spraying – not even one drop!
Before taking a bath or washing your hands, it’s important to know where you can find the water valve in case of an emergency. If you live in a house, chances are it will be located just below the tub. However if you’re living more downtown and have shifted into condo-living, keep an eye out behind your toilet or beneath that bathroom sink!
Are you searching for a way to turn off the water? Try reaching out to your property manager – it’s possible multiple units may share the same valve!
Step 3: Wrap Your Pliers
With the right tools, removing your showerhead can be a breeze! Attach some plumber’s tape to make ordinary pliers even more effective – or if you don’t have any at hand, just wrap the bolts with a cloth for an added layer of protection.
Keep your pliers in top condition by protecting them with a wrap – this will prevent any metal shavings from forming when interacting with shower heads, head connectors and plumbing nuts.
Step 4: Set Up Your Workspace
Protect yourself and your bathroom from corrosive elements with a shield of defense! Use the right tools for durable coverage against harsh chemicals and other potential damage.
Safeguard your bathtub or shower from harm with a protective covering! Before working on those home improvement projects, make sure to prevent any falling debris, chemicals or screws from causing damage by adding an extra layer of protection like a garbage bag, towel, plastic cloth – even an old work blanket will do the trick.
To ensure your small components don’t stray, place a protective cover over the drain and secure it with a washcloth – no rust shavings or other miniature pieces will work their way out!
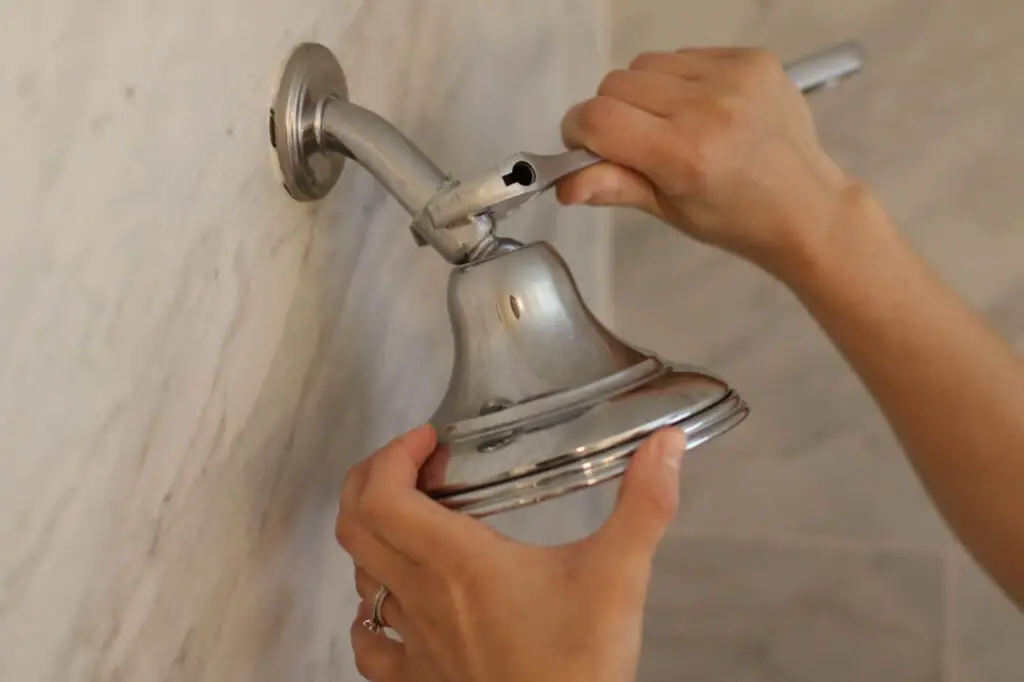
Step 5: Remove The Showerhead
It’s time to tackle the task at hand: removing that stubborn showerhead. With a few tools or without, it’s sure to be an easy and rewarding process!
Using Tools
- Get a grip on plumbing dilemmas with pliers or an adjustable pipe wrench – just wrap the tool’s teeth in some handy plumber’s tape and tighten up those fixtures.
- Give the connector a firm grip with your pliers or wrench, then turn it sharply clockwise to remove any pesky mineral deposits or rust.
- To remove a broken showerhead, twist it counterclockwise until the tension is released.
- To ensure that the original connector remains intact, use your hands to cautiously unscrew it.
Without Using Tools
Struggling to remove an old, rusted showerhead? Don’t despair – there are some surefire showerhead removal solutions out there! Mineral buildup or rust could be making your attempts futile, but try a different approach and you’ll have that pesky fixture off in no time.
1. Use Vinegar
White vinegar is a powerful yet surprisingly safe cleaning solution! With its high acidity levels, it can dissolve almost anything – ranging from rust or buildup to the grime in your kitchen sink. Best of all, this miracle cleaner won’t harm kids or pets around your home.
Transform your showerhead with a simple cleaning solution! With just vinegar, you can make short work of stubborn calcium deposits and rust. Soak the bottom remove a shower head overnight for best results — that’s all it takes to get rid of corrosion and restore sparkling cleanliness!
Bring a showerhead back to life by immersing it in vinegar! For handheld fixtures, create a bath of the acidic liquid. Or for wall-mounted styles, tie up an acetic solution with an elastic hair band and place elastic hair tie around the connector like a fashion accessory.
After a night-long soak in a vinegar bath, wake up to tackle the stuck showerhead. Put on your work gloves and give it some elbow grease – once you’ve tried with just your hands, see if a good grip of pipe wrench can help.
2. Calcium Lime Rust
Need a fix for your showerhead? Try treating it with Calcium Lime Rust – an effective solution that’s just as powerful as vinegar. Be sure to read and follow the instructions on the packaging before you get started!
Treat the showerhead with a special chemical designed to remove rust and mineral debris, leaving it for an exact specified time period. Then use a wire brush to scrub away any last remnants of grime. Wipe everything clean before attempting to unscrew the fixture from its pipe – but don’t get your hopes up just yet!
An oil of unparalleled power, Penetrating Lubricant offers a unique blend that can dissolve even the toughest grime and leave surfaces sleek like glass. As its name implies, this remarkable product penetrates deep into parts to provide superior lubrication for maximum performance.
Struggling to tackle a tough task? It might be time to try Liquid Wrench or WD-40 – these penetrating lubricants can help you make the most of tricky jobs.
- Give the showerhead’s connector a coating of penetrating lubricant and let it soak for two hours – you’ll be surprised how much smoother your shower experience will become!After spraying a lubricant, let it soak in for two hours to ensure maximum performance.
- To get the lubricant flowing, give that connector or nut a jiggle and see if it loosens up!
- Secure the connector with an extra layer of protection by wrapping it in a stylish leather or heavy cloth, then secure tightly using both pliers and a wrench.
- Carefully remove the showerhead to access and repair any plumbing issues.
Utilizing penetrating lubricants can be helpful, but it’s important to remember that safety comes first! Always take the time to safeguard your eyes and skin before you get started.
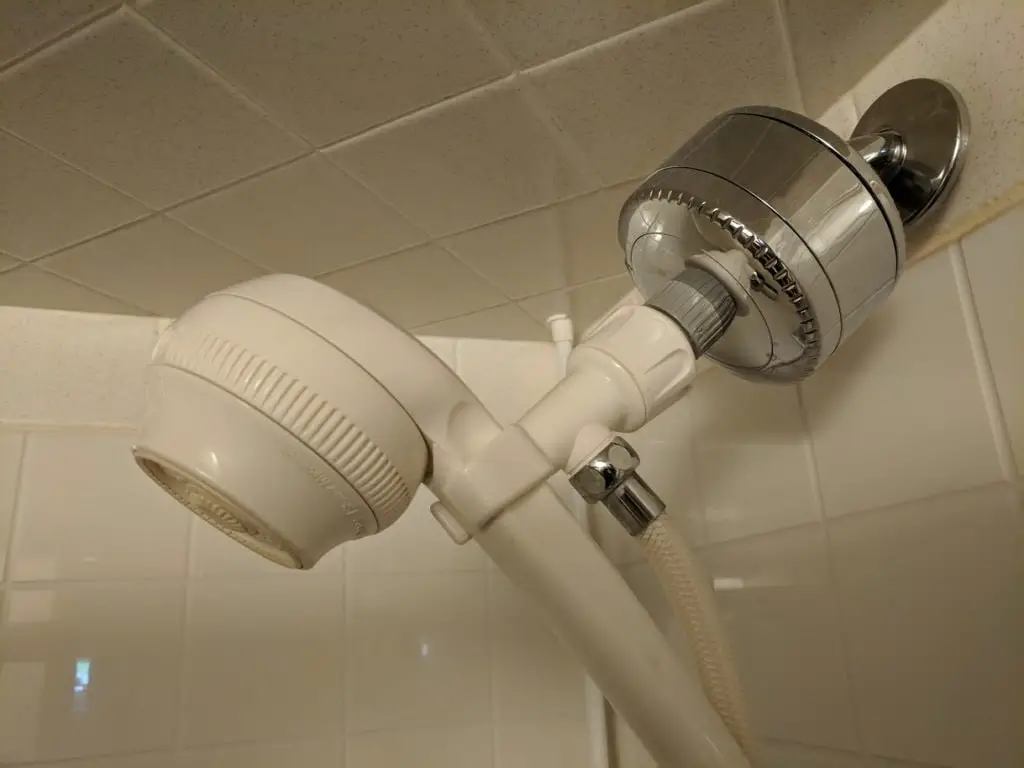
Step 6: Clean The Showerhead And The Pipe
With the old showerhead now unscrewed, it’s time to give your bathroom fixture a makeover! Refresh and clean both the showerhead itself and its associated pipes for optimum hygiene.
Begin the process by freeing your showerhead of any adhesive remnants. Then, use a wire brush and steel sponge to obliterate calcium deposits and rust within the pipe threads that encircle it.
To keep your showerhead in top condition, venture inside the threading grooves and ensure that no corrosion or residue has accumulated. For particularly tough buildups, vinegar or calcium lime remover can be used to restore it back to its pristine glory!
To get your showerhead sparkling clean, try a vinegar soak! Fill a small basin with the acidic liquid and let it do its magic overnight. The vinegar will attack mineral deposits and rust to restore you plumbing fixture’s connector back to its original shine.
The following day, clear the showerhead of any lingering vinegar and take a closer look for symptoms of calcification or deterioration.
Keep your showerhead looking its best by applying a calcium lime rust remover to it. Let the product sit according to instructions and then scrub off with either toothbrush bristles or wire brush agitation for sparkling results!
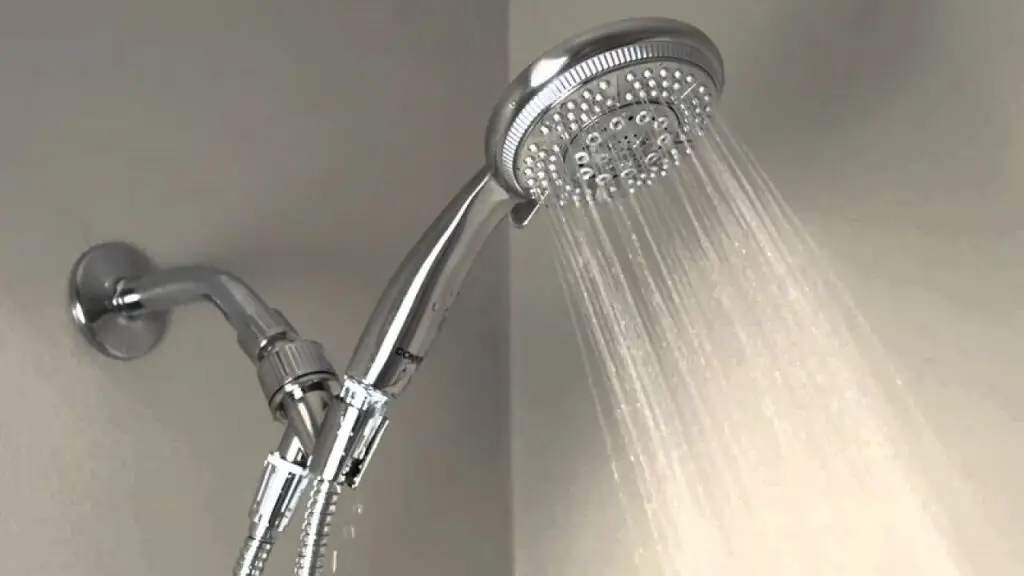
Step 7: Replace Or Re-Attach The Showerhead
This is the final move in bringing your shower back to good working order – installing a brand-new head or reinstalling an old favorite! Follow these simple steps and you’ll be enjoying hot showers sooner than you think.
- Secure the connector threads with a layer of Teflon tape to ensure air-tight protection.
If you want to secure your shower pipes against water damage and leaks, a plumber’s tape is the perfect fix. Wrap two to three layers of Teflon around the connecting pipe in a clockwise motion and press firmly into each thread groove for optimal protection!
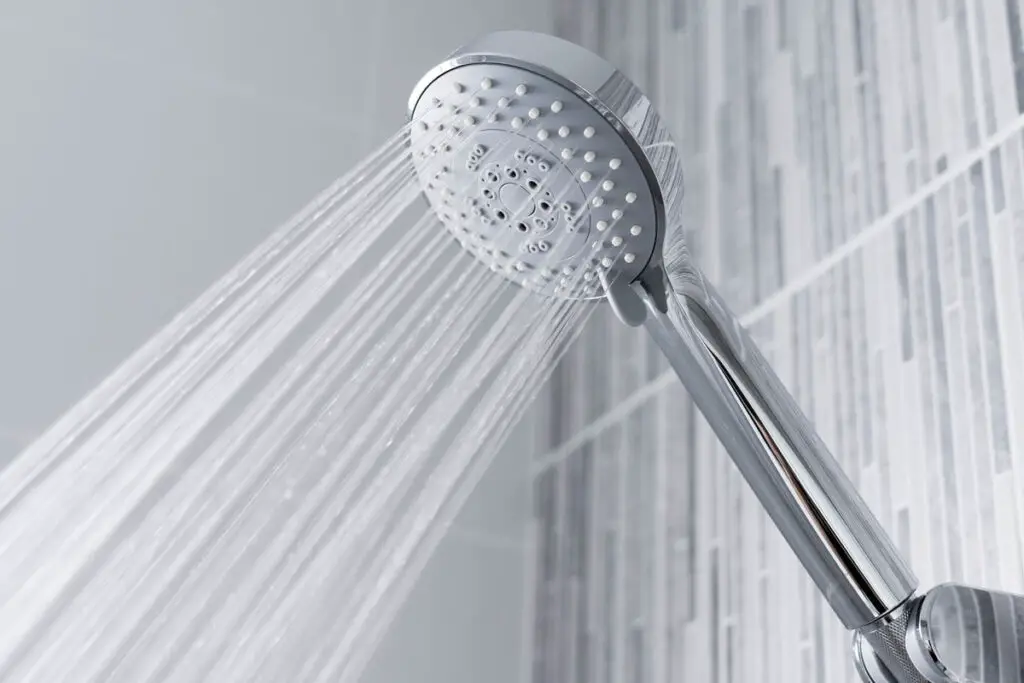
- Make your morning routine easier by quickly and easily attaching a showerhead to make your showers much more enjoyable.
Installing a new showerhead is as easy as attaching and securely tightening it to the arm with a simple clockwise twist. Transform your bathroom today!
Installing a hand-held showerhead is simple! All you have to do is securely attach the hose at one end of the showerhead sticking the base, then hook up your new fixture to the opposite side. Just give it a few twists and voila -you’ll be enjoying a relaxing spa experience in no time!
- Unlock the tap and let life flow with a splash of refreshing water!
Once the task is done, give your new faucet an inaugural test run! Turn on the water to make sure everything’s sealed up tight. If any leakage appears, just apply a little tension – grab that adjustable wrench or pliers and tighten away until no more drops can be seen.
Ensure your shower is properly put together by wrapping the exposed arm in plumber’s tape and protecting the shower head connector part with a heavy cloth during assembly – two simple steps to avoid any future complications.
How To Remove A Glued Showerhead?
Don’t be dismayed if your showerhead is glued onto its arm – removing it doesn’t have to seem like an impossible feat! With the right techniques, you can easily reclaim your bathroom fixtures and get them back in working order.
- Create an exhilarating combination of hot water, vinegar, and lemon juice, then pour it into a plastic bag for the perfect concoction!
- Keep your showerhead safe by wrapping it with a plastic bag and fastening into place using duct tape or an elastic band.
- After allowing the bag to rest undisturbed for at least half an hour, it’s time to remove it and discover what wonders lie within.
- Give your showerhead a proper rinse with cold water, then see if you can release it from its place by using either brute force or something more precise like pliers.
- If the showerhead won’t budge, keep at it! Eventually, with enough perseverance and patience, you can break down even the strongest glue bonds – so don’t give up until your fixture is free.
Conclusion
Mineral deposits and rust can often make it difficult to remove a showerhead, but this doesn’t mean that you’re stuck with the same one forever! Taking some extra time and effort will help ensure your shower head stuck and is unstuck in no time.
Transforming your old shower head is easy with these few fool-proof steps! Unsticking a stuck showerhead and replacing it with the perfect new one has never been simpler.
Read more: Can you pour bleach down the sink? How to fix