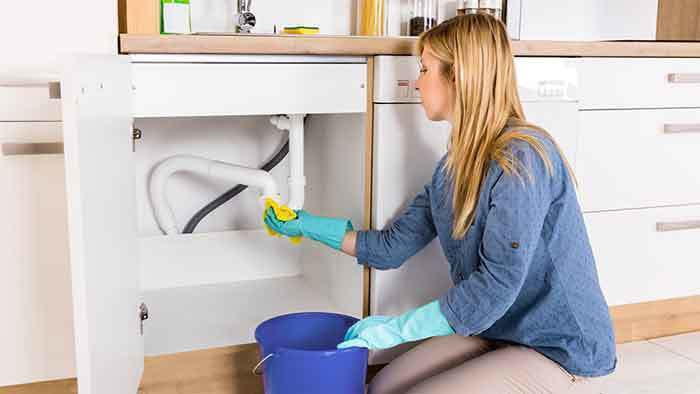
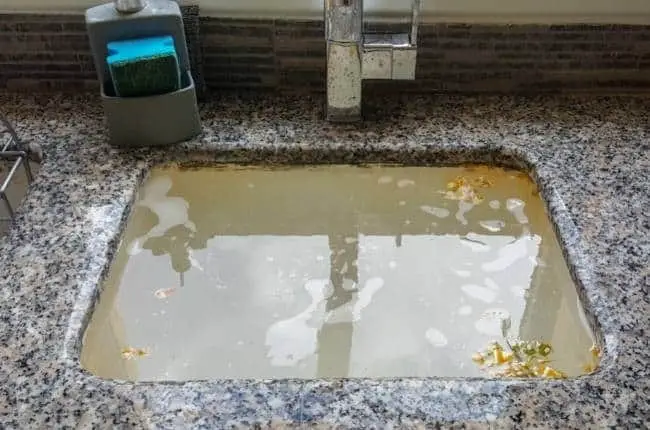
Homeowners of all kinds have surely faced sink clogs at some point, especially if the sink drain is clogged past the trap. The culprits are usually food particles, grease and dirt, hair, or paper products which build up in the sink drain to cause clogs and blockages. Why kitchen sink clogged past trap?
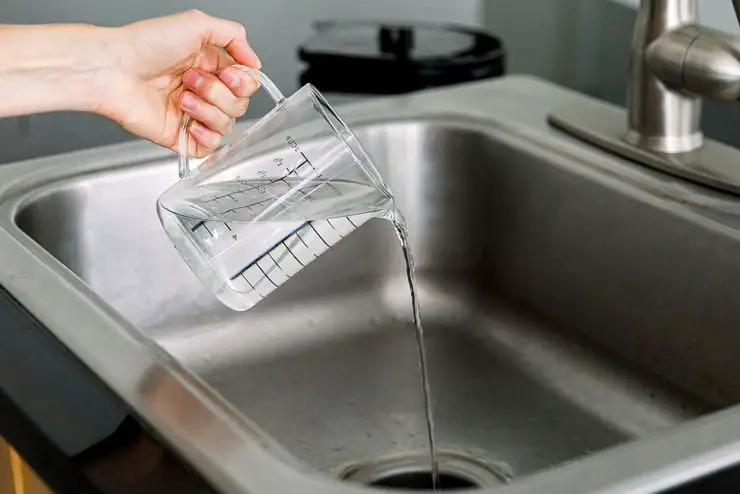
The telltale signs? A clogged kitchen sink past that drains slowly – or not at all! To avoid more problems, you can take a few simple steps like pouring boiling water down your sink drain regularly to stop debris from accumulating and causing a full-blown clog. With this habit and some preventative maintenance, your sink should stay clear of big issues!
A clogged kitchen sink can be a real headache, but there’s no need to panic! You can often fix it yourself with some simple steps. The first thing to try is pour boiling water down the sink’s drain – this can help clear out grease and oil clogs. If this doesn’t do the trick, you may need a drain auger to break up more stubborn blockages.
With enough patience, it is possible to work your way through even the most entrenched of clogs! Of course, if you find yourself too overwhelmed then it might be time to call in a professional plumber for help.
What Are The Different Types Of Drain Clogs?
Homeowners are all too familiar with the dreaded clog. Fortunately, this common plumbing problem is relatively easy to identify and clear; typically it can be fixed in just 15 minutes! While there may appears to be a variety of causes for blockages, most stem from two main locations – giving you greater peace of mind that one short visit will help restore order again.
Hair Clogs
If you have a long-haired roommate, friend, or family member living with you – beware of the dreaded drain clog! Long hair has an uncanny talent for finding its way into any and all drains it can wrap itself around. Before too long other debris will join in on the party and make matters even worse as your water flow slows to a trickle. Get prepared now before this minor issue turns major!
Where Are The Typical Drain Clog Locations?
Clogged kitchen sinks and drains can present a real challenge. For kitchen clogs, grease and oil are usually the culprits – in bathrooms it’s most often caused by hair products. But where do these pesky blockages show up? Over our years of experience we’ve come across some common areas to check for trouble – from greasy kitchens to conditioner-filled showers!
The Drain Plug Lever Assembly Clog
Drain Plug Lever Assembly
Does your bathroom sink have an unsightly build-up of long hair in the drain plug? Don’t fret, clearing this clog is not as hard as it looks and only requires a few simple tools. Take control of that pesky blockage to restore functionality to your bathroom fixture!
To unclog your sink drain, you’ll need to access a hidden mechanism located at the back of the pipe. You just may be in luck because all that is usually required for this task are some simple tools like a crescent wrench or pliers. Once there, it’s time to loosen up and detach any hex nuts or knurled screws from their lever shaft – this will unlock your clogged sink drain pipe!
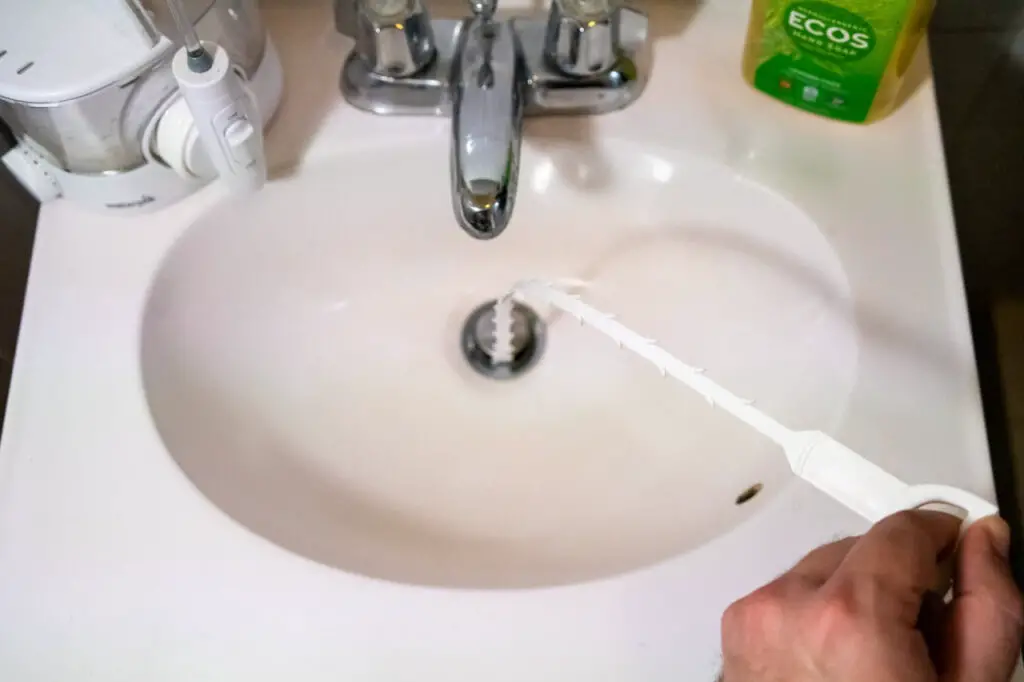
How To Remove A Drain Lever Hair Clog
The ultimate solution for clogged bathroom drains has arrived! With this incredible plastic barbed tool, you’ll be able to easily snag most hair-related plugging and draw the debris out before it even reaches the drain. It’s an easy temporary fix that can save on plumbing costs – but if your problem persists or is too stubborn, you may have to pull off a bigger move by removing the entire assembly altogether.
How To Remove The Drain Plug
Unclog your sink with the tools from your “homeowner’s toolkit”! Remove those pesky drain plugs by using a crescent wrench or pair of pliers to loosen them up. Keep in mind which way you take it out for an easier reinstallation, then slide the shaft back about 1/2 inch and lift gently – voila!
Peer down the drain and you’ll behold a puzzling site–a tangle of hair blocking your way! Never fear, as with a trusty pair of tweezers or needle-nose pliers in hand, you can clear out that clog like nobody’s business. If those long strands prove too far for fingers to reach, don’t forget about the barbed plastic tool specially designed to tackle such quandaries.
Re-install The Drain Plug
After the detangling is complete, it’s time to install your drain stopper closed the plug. To ensure a proper fit – and prevent unexpected removals later on – line up the loop of the pretty stopper with its corresponding socket in the sink before turning it tight below. A few practice runs may be needed here; once properly secured, you’re all set!
Secure the hex nut closely around the sink shaft in order to ensure a reliable water seal. Take care not too overtighten, as there is likely some kind of plastic or rubber lining that must remain intact for optimal effect. Should you need to remove drain plug assembly from it later on, make sure no running water is left behind – otherwise an unwelcome surprise could be awaiting you!
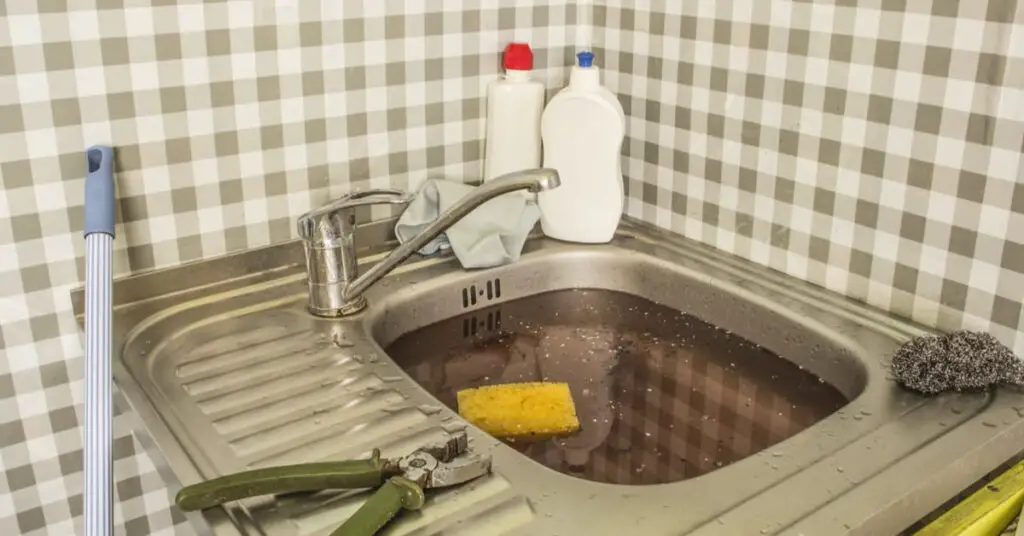
The “P” Trap Clog
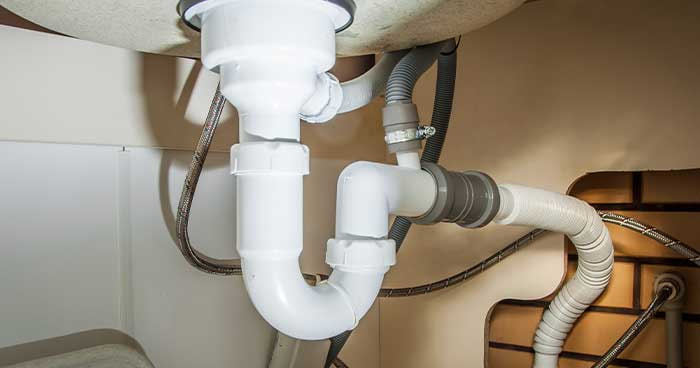
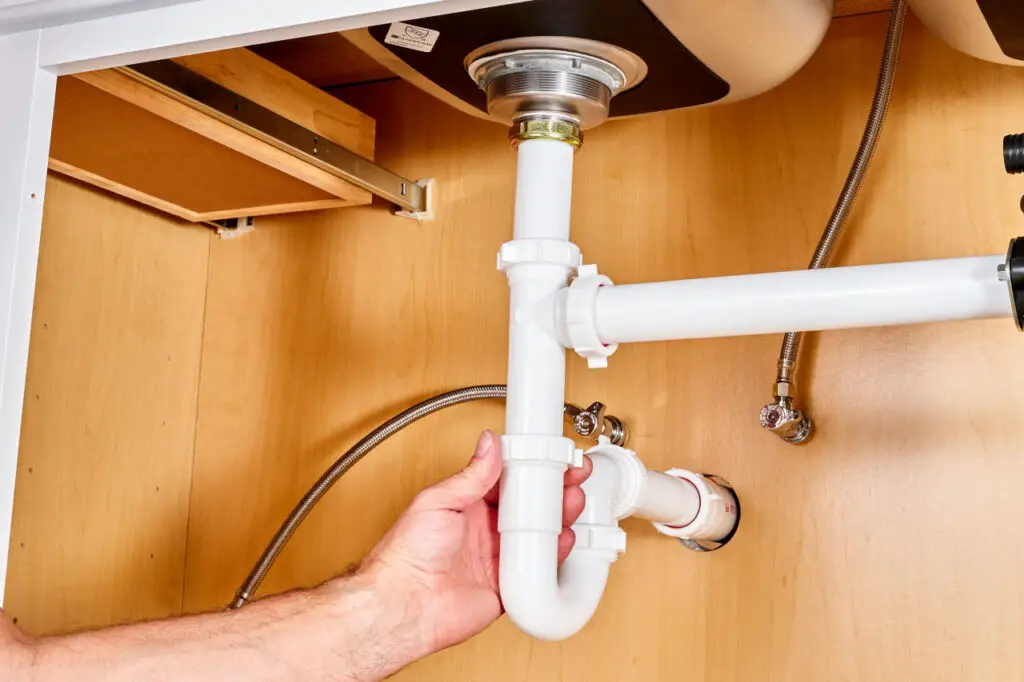
The P-trap fitting tucked beneath your sink is essential in protecting your family from dangerous sewer gas fumes. Though its classic dip shape may be recognizable or even familiar, contrary to what you might think it was not put in place to trap small items dropped in the sink. Instead, this cleverly crafted fixture acts like a stopper of sorts, plugging the drain and preventing unpleasant odors from entering the home. This small but mighty accessory is truly a necessity for creating a safe environment throughout the house!
Cleaning a sink can be a hassle and it’s not any better when you have to take the extra step of having to unclog the pipes. While some preventative measures like running hot water could help, it might not stop the inevitable from happening — that is a clogged drain caused by various items such as soaps, shampoos, conditioners and other lotions. These products tend to coat the piping systems in your sink which makes it an ideal spot for clogs to form because materials such as hair can grab onto that easily. The problem is that our sinks were never designed with the intention of catching these items but they unfortunately do, making them more prone to clogging up.
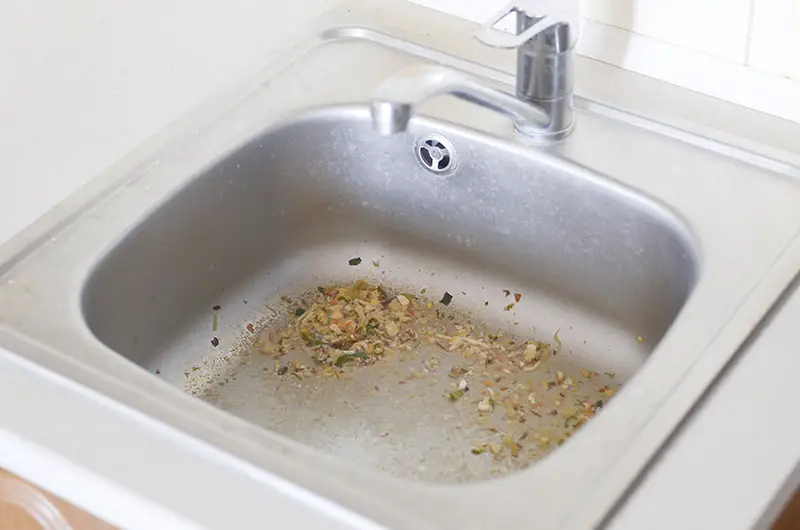
How To Remove A “P” Trap Clog
When you first suspect a hair clog, you should check the drain mechanism to see if the blockage is visible. If nothing is there, then it’s time to start investigating further. Your next step should be checking the “P” trap for the clog—this requires using a plastic hair removal tool that is long enough to reach down into the “P” trap. If your tool isn’t long enough, then you’ll have to remove the entire “P” trap in order to access and clear the clog. Before attempting this, make sure you have a large catch pan beneath the “P” trap ready so any water will fall into it rather than make a mess on your floor.
Unclogging your shower drain is made a breeze with modern PVC pipe! With just a few turns of the wrench, you can quickly remove and clear out any pesky clogs. Older metal pipes may require an extra tool or two to take apart but still can be easily dismantled – leaving you free to sort out those stoppages in no time at all.
If your kitchen sink is completely clogged, you can take action to try and clear away the gunk build up. Start by getting rid of as much debris manually as possible before pouring a couple gallons of near-boiling water slowly down the drain in an effort to break it apart or wash it away. If this doesn’t do the trick then we’ll have to look deeper for a solution!
Taking apart drain piping can be intimidating, but with the right resources it doesn’t have to be! Black and Decker’s “The Complete Guide To Plumbing” is a great resource for DIYers wanting some assistance in this area. Available both as a physical book or on Kindle, you won’t want to start your next plumbing project without consulting this comprehensive guide first!
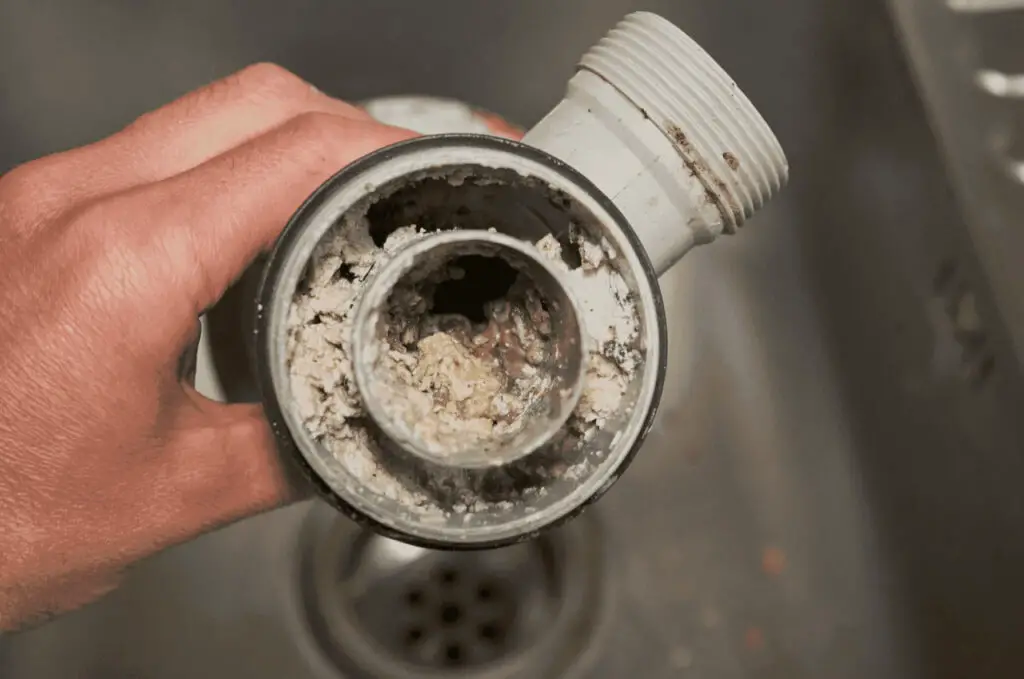
How To Clear Stubborn Drain Clogs
After months of headaches and clogged pipes, our kitchen sink drain misery was finally put to rest when we discovered the cause: a persistent blockage beyond the P-trap. Despite initial attempts with plungers, chemical cleaners and even unconventional methods like baking soda, vinegar and baking soda mixtures and soapy hot water – nothing seemed capable of shifting it until now!
Armed with a plumbers snake, I delved deep into the bowels of my apartment’s piping and emerged triumphant – albeit covered in greasy, organic gunk. A 15 foot mission through the wall had paid off!
Despite my valiant effort to unblock the drain, including reassembling the pipe and pouring boiling water down it, I was still unable to clear out whatever clog seemed stuck. To be sure of a successful fix in such cases from now on, though – when hair appears to be culprit behind slower drainage – rely solely upon what’s proven: an adept plunge with a trusty plumber’s snake!
After exhausting all options, I turned to the last hope – my trusty new drain clog-buster. It was time to see if it could work its magic!
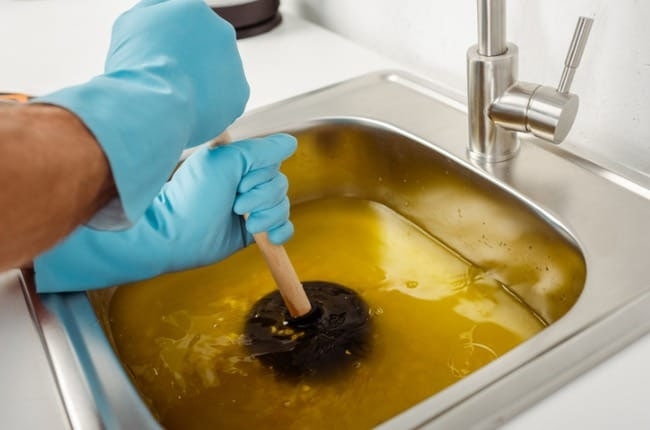
How To Clear A Sink Clogged Past The Trap With A Shop Vac
Wet/Dry Shop Vacuum
After days of futile attempts to unclog our kitchen drain, I was beginning to lose hope. That is until a brilliant idea struck me – using the powerful suction from my wet/dry shop vacuum! To my surprise and joy, it only took minutes for this simple solution to clear out even the most stubborn clogs without creating much mess.
With the power of a vacuum, you can tackle even the most daunting clogs. Start by using it to easily remove lingering water from sinks and their “P” traps! For stubborn blockages though, removing that one drain attaches the same “P” trap will give access to drain piping for more thorough cleaning – just be warned: if you still use a drip pan in case some water remains despite your efforts with vacuuming.
After all other solutions had failed, we finally resorted to the ultimate clog fixer – a trusty shop vac! With one quick move of removing the “P” trap and hovering up our troublemaker with suction power, it was gone in no time. What seemed like forever of struggling turned into an easy victory for us thanks to this handy machine!
Unclogging a drain isn’t always easy: depending on where the blockage is, it may take more than one strategy. If you’re dealing with this issue in your own home – fear not! Here’s an intro to what goes into encountering and eliminating most clogged drains here, including understanding a typical drainage set-up plus how shop vacuums can come to the rescue when needed. Oh – and don’t forget about those pesky locations of potential congestion which might slow progress…but luckily we’ll make sure that doesn’t stop us from getting everything flowing again!
Understand Your Home Drain System For Best Results
To ensure you get the highest quality results when unclogging your drains, it’s important to familiarize yourself with how a typical home drainage system is designed and operates. With this knowledge under your belt, tackling any clog location in no time will be like second nature!
Typical Home Drain-Septic System
Did you know that your home’s drain system relies on gravity and a force called suction to do its job? When water travels down the drain pipe, it creates an invisible vacuum just like siphoning gas from a tank! This phenomenon ensures all of the liquid continues to flow until gone – but don’t be fooled; there are still very real dangers behind this seemingly helpful concept.
The “P” trap is an ingeniously designed system, combining the power of gravity and venting to create a seal that prevents harmful sewer gas from entering your home. As water drains away in compliance with Newton’s famous law, the alternating suction and circulating air creates a pressure balance which keeps this vital plug intact.
How To Remove A Drain Clog Before The Vent Pipe
Unclogging a drain can be tricky, but if the clog is located between the plug or grate and vent pipe it’s surprisingly easy! Attempting to remove any stubborn buildups may require removing the “P” trap for better accessibility. Vacuuming out this area will provide more direct suction which should make short work of even persistent drains slow blockages.
Blocked Drain System Near The “P” Trap
How To Remove A Drain Clog After The Vent Pipe
At first glance, this clog is identical to the one before it. However, an extra step in the process reveals why this location requires more attention – when you turn on your vacuum cleaner’s suction power, its natural course will be dictated by “path of least resistance” and ignore that pesky problem-causing build up!
Blocked Drain System After The Vent
To discover the mysterious location of your clog, you can use a simple vacuum cleaner! Just attach it to the drain piping and activate. If you’re lucky enough, then congratulations on resolving your problem! On the other hand if there’s no sign of relief after vacuuming – don’t worry; another solution to prevent clogged drains may be just around the corner.
To ensure the vacuum will only be affecting the drain line, it is necessary to block off any air from entering. This can easily be done with something as simple as a bottom drain stopper or plug – no fancy high-tech solutions needed!
If your abode has more than one sewer vent line, remember to block both before attempting a re-test. Taking this extra step could ensure success for all future plumbing endeavors!
Final Thoughts
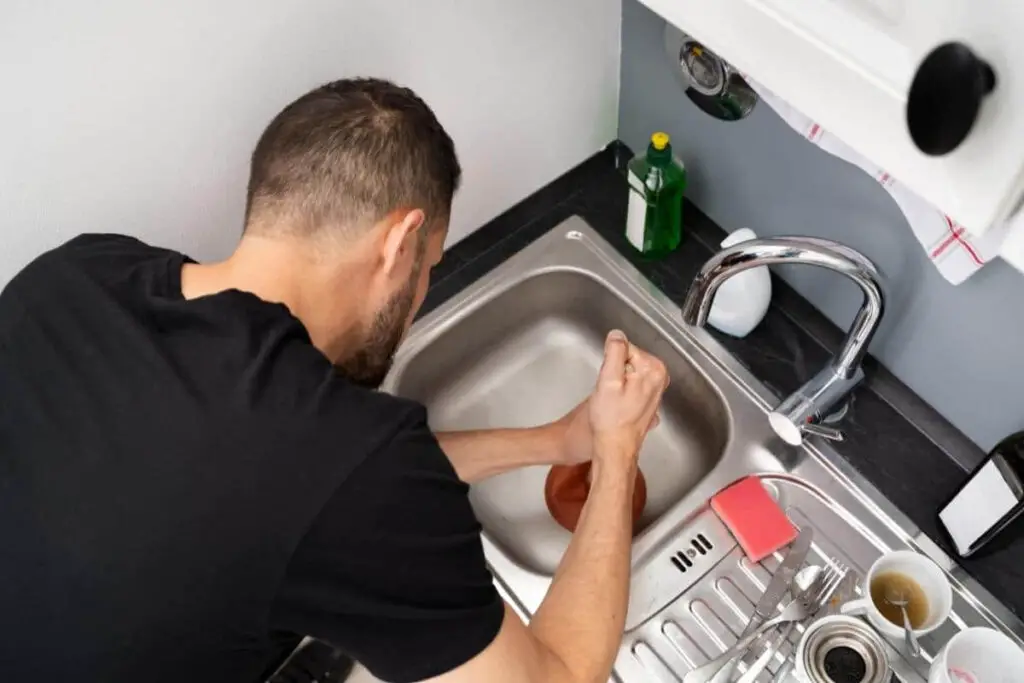
Homeowners everywhere can finally take a load off! Taking just a few moments out of your day and using one of the recommended tricks can help your clogged sink drain quickly. Pour boiling, pour hot water in, use a shop vac, or use the pot plunger – whatever you choose, it’s estimated that 95% of slow-draining sinks will be fixed in no time.
No more worrying about a clogged kitchen sink in the past! Shop vacs are an excellent choice for general clogs and offer easy cleanup of messes – invest in one today and start taking advantage of the convenience these tools provide.
Read more: What is a plumbing stack: questions

