If you’re a loyal user of PEX, you’re surely aware of all the convenience and durability these pipes provide.

But, in order to make the most of these tubes, you need to know how to install them properly, and what fittings to use.
Now, whether during installing new tubing or for replacing them, you are most likely to need to remove those various fittings.
If done correctly, you’ll be able to reuse the fittings with your new PEX, saving extra costs of buying new ones. Things are a little different with PEX tubes, hence properly removing them is crucial.
So, today we are all about how to remove PEX fittings like a pro all by yourself no matter what type they are!
How To Remove PEX Fittings? Step By Step Guide
Before you move on to dismantling your system and removing the pipes and fittings, you must ensure to turn off your water supply.
Once that’s taken care of, if the system is a pressurized PEX system, allow the water to drain away from the depressurized areas.
Relevant posts >> How To Bend PEX Pipe: Best Way Discussed [With VIDEO]
A. Remove A PEX Crimp Ring
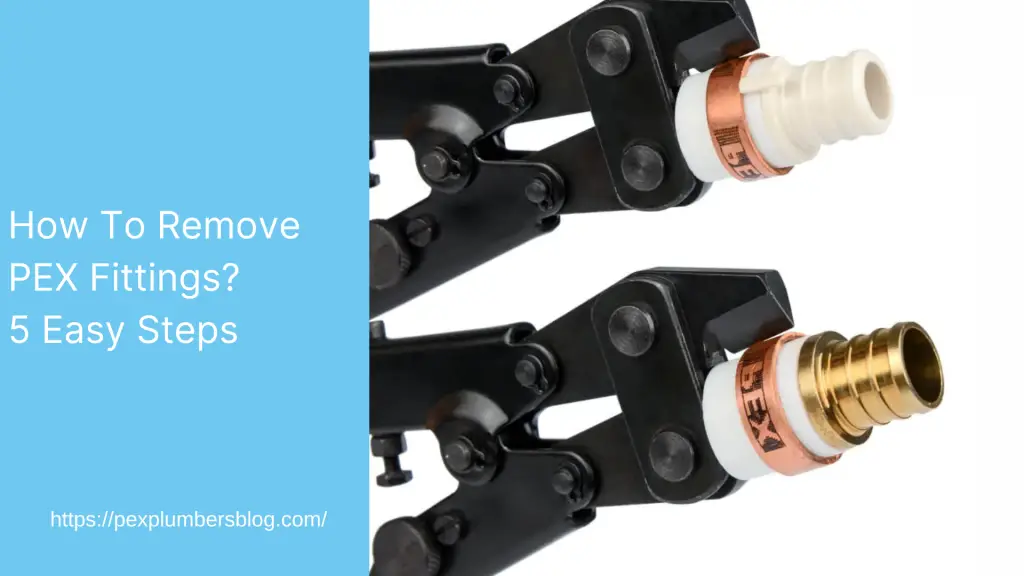
1. With Crimp Removal Tool
Crimp rings are the most-used objects that attach the PEX to your fittings by providing an even 360-degree firm pressure without threatening corrosion or expansion.
As complex as it may seem to remove these rings, it can easily be done with a few sets of tools and utmost care. The following are the items you’ll need:
- A decrimping device
- A pair of pliers
- Pipe-cutter
Once you’ve managed these, follow the steps described below with patience, care, and precision if you intend to reuse the fittings.
- Since you are discarding the old PEX anyways, cut out the PEX fitting assemble by keeping the cut as near as possible to the crimp ring.
- If your crimp tool is adjustable, set it as per the size of the crimp ring.
- The tinier jaw of the clamp tool needs to be inserted through the PEX to reach the crimp ring, kind of like a stapler.
- Once in position, press on the handles of the tool so that the crimp ring gets cut due to the squeezing action. Apply pressure with care as if you cut through the PEX itself, the fitting might get damaged.
- Repeat the same cutting process in the opposite end of the cut to cut another part of the crimp ring.
- Make as many cuts on the crimp ring as you need to loosen it so that it can be easily slid off.
Relevant post >> PEX Expansion Vs Crimp
2. Without Crimp Removal Tool
In the event that you do not own a crimp removal tool, you can use the following steps to remove the crimp rings.
- A flat-headed screwdriver
- A Dremel, or hacksaw
The method of removing crimp rings using these devices is basically the same. All you have to do is just cut through the rings until the PEX pipe is visible.
Make as many cuts as you need and with the help of your flat-headed screwdriver, simply lift them off your pipe.
As you have noticed, since the crimp rings are being cut off, you won’t be able to reuse them. But, safely removing these rings ensures that the fitting that your PEX was attached to remains unscathed, allowing them to be used again.
In order to remove the cut PEX part off the fitting, simply use pliers to pull the PEX off or use your crimp tool to ease out the PEX fragment.
B. Remove A PEX Stainless Steel Pinch Clamp
Stainless steel pinch clamps are basically like crimp rings and they provide the same degree of performance as copper crimp rings.
These are resistant to rust but are more on the expensive side. The removal system of these clamp rings is virtually the same as above, but easier, and you’d need the following tools.
- Heavy-duty end cutter
- A pair of side-cut pliers
- Pipe cutter
Even if you don’t have a heavy-duty end cutter, you’ll be able to achieve the same results with a flat-headed screwdriver and a pair of pliers. Once you have these items, move on to following the steps below with care.
- As usual, start by cutting off the fitting assembly from the PEX pipe. To make it easier for you to pull off the PEX from your fitting, you should leave around 0.25-0.75 inches of PEX.
- Now take your end-cutter or side-cut pliers and place them in such a way that the clamp ear falls in between the jaws.
- Once in place, apply pressure to break/cut off the clamp ear.
- Now that the clamp is broken, you can easily loosen the pinch clamp and slide it off.
Just as with the crimp rings, pinch clamps cannot be reused as they get permanently cut through. But removing them effectively and carefully ensures that the fitting attached to the PEX remains unharmed.
Hence, you can reuse that fitting if it’s still in good condition.
You may also like – 7 Best PEX Crimp Rings in 2023 – Reviews & Buyer’s Guide
C. Remove A PEX Push Fittings
Push fittings are super-convenient to attach and require no special tools to connect to PEX. These fittings are usable on all types of PEX except the PEX-AL with Aluminum inside.
As the name suggests, you can easily push in the PEX tube through these fittings. Once in, they automatically grip the tubing securely, enabling a safe, leakproof connection.
You can easily remove these push fittings with the help of a semi-circular disconnector clip. Simple put this clip on the fitting and pull to disconnect the fitting from the pipe.
D. Remove PEX Expansion Fittings
These fittings are basically designed only for PEX-A tubing and are super-easy to attach and remove.
Since PEX-A is the most flexible, all you have to do is to connect them is to use an expander tool to slightly expand the end of your PEX-A tube and once that has happened, pop the fitting in.
Due to its memory, the PEX-A pipe will shrink back to its original shape, strongly gripping the fitting and locking it in securely- kind of like wearing a sock, where the PEX tube plays the role of the sock.
In order to remove them, you’d basically have to go in reverse.
- Simply try to expand the fitting assembly by using heat such as from a hairdryer or heat gun. Ensure the lowest setting so as not to melt the pipe.
- Apply heat and try to use a blunt flat object to loosen the pipe edges that will easily expand due to being warmed up.
- Then simply pull out the fitting.
If you do not intend to re-use the pipe, you can easily cut the pipe carefully using heat to help soften it up until you see the fitting.
Ensure utmost safety while making the cut so that the fitting inside doesn’t get damaged.
Tips For When Removing PEX Fittings

1. Don’t Rush It
Since these methods of removing PEX fittings require a lot of caution and attention, rushing it will only complicate things even further.
So don’t let yourself get in a hurry and try to finish all the steps as quickly as possible. Take your time with each phase and handle the tools carefully to keep the fittings undamaged.
2. Sticks Over Coils
PEX has the tendency of retaining its original shape and thus it constantly springs back to its curves. That is why working with coils becomes even more challenging in such projects.
Stickers perform better since maintaining their bends is easier and it takes away a lot of frustration.
Conclusion
When installing PEX to their corresponding fittings, it is necessary to install them correctly to get a secure attachment with zero leaks.
After attaching and crimping your fittings to the pipe, you may notice that they are incorrectly attached, needing you to disassemble the fitting assembly and start all over again.
Now that you know how to remove PEX fittings like a pro, you hopefully will no longer have to struggle to repair/replace your PEX system ever again!
Also Read:
- Top rated insulation for pipe
- Choose a Right flux for copper plumbing
- Top picks for soldering torches
- Solder for copper pipes
- Guidelines for choosing a pipe thread sealant
- How to Remove Rust From Pipe Threads

Hey! I’m Leanda Bailey. I’m here to explain every plumbing installation and repair you may have in your kitchen or bathroom. Also, I’ll try to find you the best products on the market for your plumbing work.

